 Spanish
  English
  French
  German
  Polish
  Chinese
  Japanese
  Korean
  Russian
 Contenido
Introducción
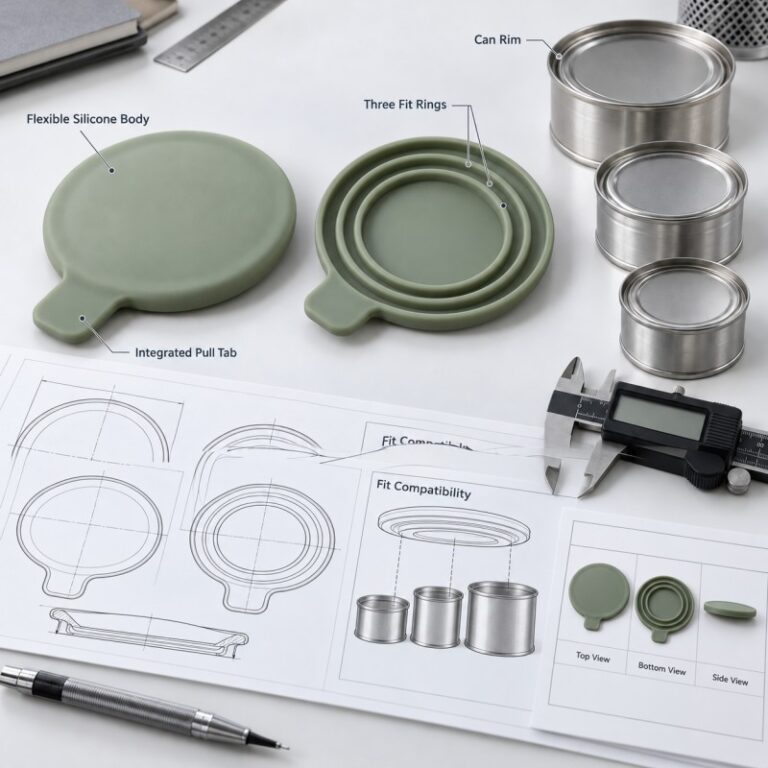
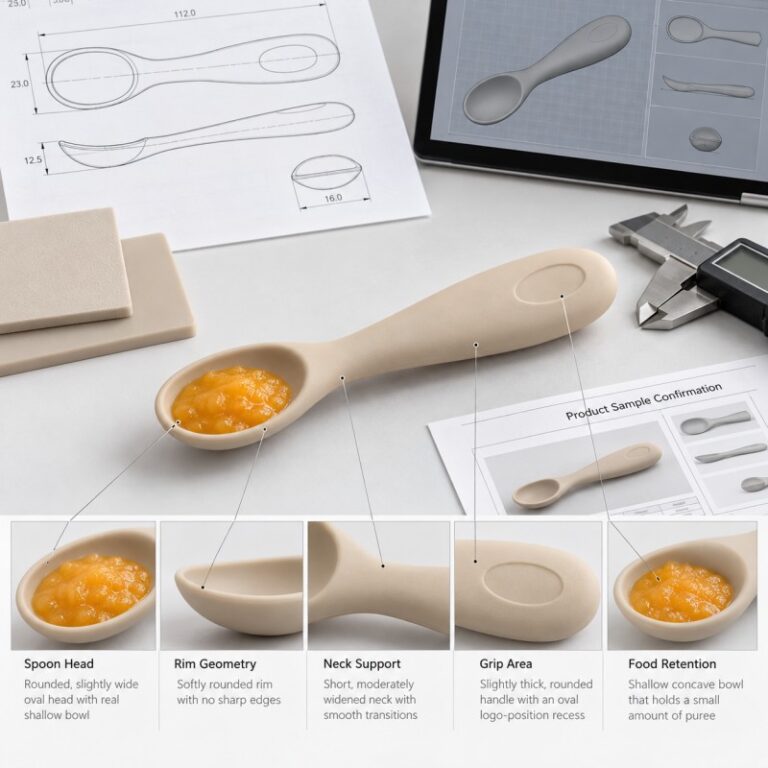
A custom silicone product often begins with a sketch, reference photo, physical sample, or 3D drawing.
The buyer may already know the target shape, color, logo, and packaging style. However, these elements alone are not enough to begin mold development.
Before tooling, the buyer and manufacturer need to confirm how the product will be used, which areas must remain soft or stable, how the part will be removed from the mold, which dimensions are critical, what surface finish is required, how the product will be tested, and how it will be packed for mass production.
If these points are not confirmed early, the first sample may reveal problems such as:
- Product deformation
- Weak thin sections
- Difficult demolding
- Poor suction performance
- Unstable folding
- Rough parting lines
- Incorrect hardness
- Difficult-to-clean textures
- Unclear logo details
- Packaging deformation
- Dimensions that do not fit related components
- Additional mold-modification cost
For baby, pet, outdoor, educational, household, and lifestyle brands, tooling should not be treated as a simple step between product design and production.
The mold determines whether the product can be manufactured consistently, inspected accurately, and repeated in future production batches.
This guide explains what B2B buyers should confirm before starting custom silicone mold development.
Answer Excerpt
Before opening a custom silicone mold, buyers should confirm the intended product use, target market, final 2D and 3D drawings, material, hardness, wall thickness, functional structure, parting line, surface finish, logo, critical dimensions, testing requirements, packaging method, mold ownership, sample-approval process, and estimated production quantity.
A visually attractive drawing is not automatically ready for manufacturing.
The manufacturer should review whether the product can be molded, cured, demolded, inspected, packed, and repeatedly produced without unstable dimensions, weak areas, excessive flash, deformation, or difficult manual finishing.
A clear tooling checklist can reduce mold modifications, sample delays, unexpected costs, and disagreements before mass production.
1. Confirm Whether You Need an Existing Mold or a New Custom Mold
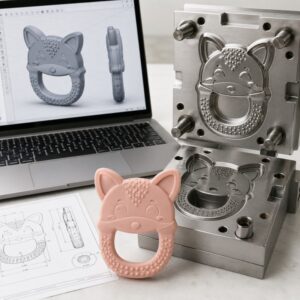
Not every silicone project needs a completely new mold.
An existing mold may be suitable when the buyer accepts the current:
- Product shape
- Dimensions
- Structure
- Texture
- Hardness range
- Función
- Logo position
- Packaging options
Existing molds can help brands test a market with lower initial tooling investment.
However, the product may not be exclusive. Other buyers may use the same basic structure with different colors, logos, or packaging.
A new custom mold is more suitable when the product requires:
- Exclusive shape
- Brand-specific dimensions
- Unique texture
- Different functional structure
- Special suction design
- Custom folding structure
- Integrated logo
- Custom capacity
- Special accessory fit
- Exclusive product ownership
Before choosing either route, the buyer should decide whether the project goal is fast market testing or long-term product differentiation.
2. Define the Product’s Intended Use
A manufacturer cannot evaluate a mold correctly without understanding how the product will be used.
The same-looking silicone part may require a different design depending on whether it is used as:
- A custom silicone baby teether
- A feeding bowl
- A pet lick mat
- A custom silicone dog chew toy
- A pet grooming brush
- A collapsible travel cup
- An educational toy
- A storage case
- A kitchen accessory
- A household product
Buyers should explain:
- Who will use the product
- Target age group or pet size
- Where it will be used
- Whether it contacts food, water, skin, or the mouth
- Whether it must fold, stretch, bite, grip, seal, or create suction
- How often it will be cleaned
- Whether it will be used indoors or outdoors
- Which sales market is targeted
A feeding bowl needs stable walls and a practical base.
A baby teether needs smooth edges, suitable grip, and controlled texture.
A dog chew toy needs appropriate wall thickness and reduced tear-risk areas.
The mold should be designed around the intended function rather than only the product appearance.
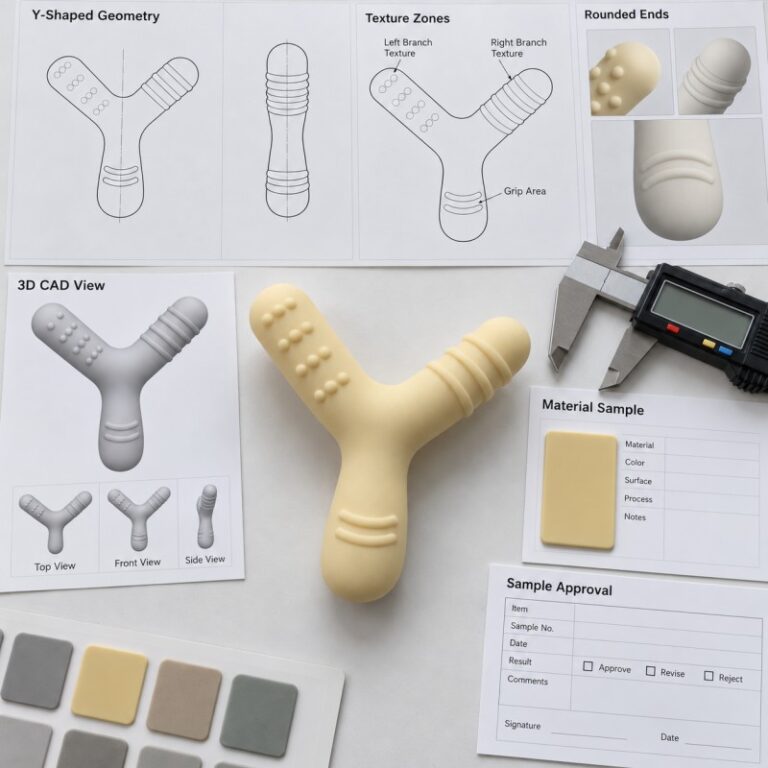
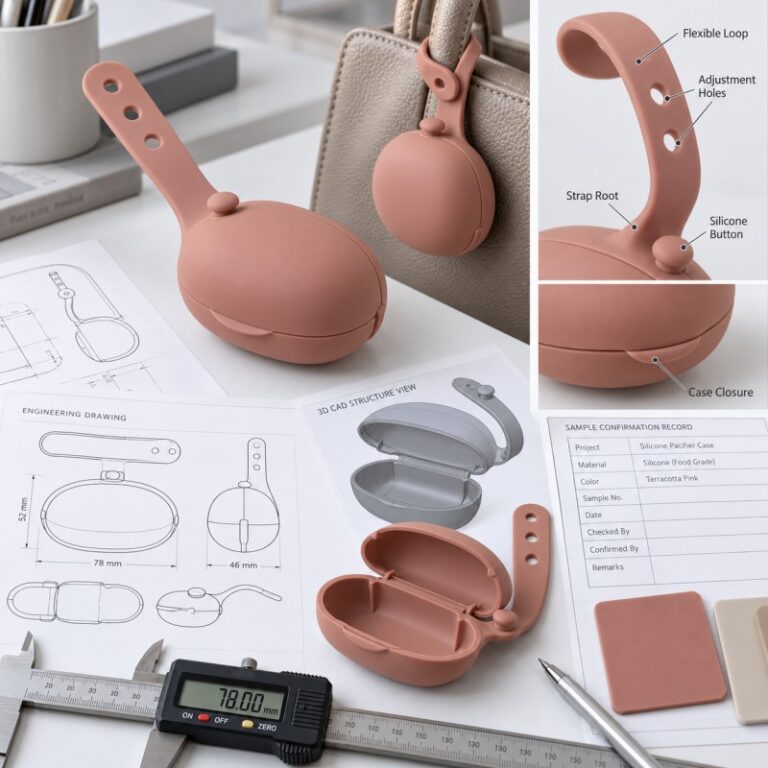
3. Confirm That the 3D Drawing Is Ready for Manufacturing
A 3D rendering can show the intended appearance, but it may not contain enough information for mold development.
Before tooling, the drawing should define:
- Overall dimensions
- Wall thickness
- Product weight target
- Internal cavities
- Holes and openings
- Edge radius
- Texture depth
- Logo position
- Functional surfaces
- Assembly areas
- Related components
- Critical tolerances
The manufacturer should also check whether the model contains:
- Overlapping surfaces
- Open geometry
- Extremely thin areas
- Sharp internal corners
- Impossible undercuts
- Unsupported sections
- Inconsistent wall thickness
- Areas that cannot be demolded
A good-looking model may still require structural changes before it becomes a production drawing.
The buyer should approve any DFM changes before mold machining begins.
4. Select the Correct Silicone Molding Process
Different silicone products may require different production methods.
Common routes include:
- Solid silicone compression molding
- Liquid silicone injection molding
- Insert molding
- Multi-part assembly
- Secondary molding
- Silicone extrusion
- Die cutting
Compression molding may be suitable for many bowls, mats, toys, gaskets, and relatively simple solid silicone products.
Liquid silicone injection molding may be considered for products requiring:
- Fine structures
- Thin features
- Higher automation
- Complex geometry
- Precision molding
- Integrated components
- High-volume production
The process should be selected according to product geometry, quantity, performance, material, tooling investment, and quality requirements.
Buyers should not select a process only because it sounds more advanced.
The best process is the one that can produce the required product consistently and economically.
5. Confirm the Silicone Material and Hardness
The mold is designed around the expected material behavior.
Changing the silicone material or hardness after tooling may affect:
- Shrinkage
- Product dimensions
- Demolding
- Flexibility
- Suction
- Folding
- Texture definition
- Tear resistance
- Shape recovery
- Surface appearance
Before tooling, buyers should confirm:
- Silicone material type
- Target Shore A hardness
- Transparent, translucent, or opaque appearance
- Target color
- Food-contact or other application requirements
- Temperature exposure
- Cleaning conditions
- Required flexibility
- Required structural stability
Material and hardness should be evaluated together with the final product geometry, and buyers can review how to choose silicone hardness before approving the mold specification.
A hardness value that works for one product may not be suitable for another product with different thickness or structure.
6. Review Wall Thickness and Structural Transitions
Wall thickness strongly affects product performance and molding stability.
If a section is too thin, it may:
- Tear during demolding
- Deform during use
- Produce incomplete molding
- Lose texture definition
- Become unstable during packaging
If a section is too thick, it may:
- Increase material cost
- Extend curing time
- Create uneven deformation
- Affect product weight
- Reduce flexibility
- Cause inconsistent appearance
Sudden changes between thick and thin sections may also create weak transition areas.
During DFM review, the manufacturer should evaluate:
- Minimum wall thickness
- Maximum wall thickness
- Thickness transitions
- Supporting ribs
- Connection points
- Folding lines
- Suction structures
- Handle roots
- Texture depth
- Hollow sections
A small structural adjustment before tooling is usually easier than modifying a completed mold.
Complex products such as a custom silicone pet paw cleaner cup may require separate reviews for the cup body, removable brush insert, bristle structure, lid and packaging fit.
7. Review Undercuts and Demolding Direction
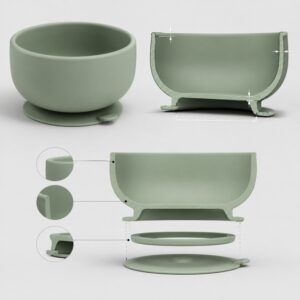
Silicone is flexible, but it still has demolding limitations.
Deep undercuts, narrow openings, internal locking structures, and sharp textures may require the product to stretch significantly when removed from the mold.
Possible problems include:
- Product tearing
- White stress marks
- Permanent deformation
- Slow manual demolding
- Unstable production output
- Damage around thin sections
- Rough surface appearance
- High scrap rate
Before tooling, buyers should confirm:
- Main demolding direction
- Undercut depth
- Draft requirements
- Product stretching during removal
- Whether mold inserts are required
- Whether manual demolding is acceptable
- Whether the product can recover after demolding
A product that can theoretically be molded but requires excessive manual pulling may not be suitable for stable mass production.
8. Confirm the Parting Line, Gate, and Venting Areas
The parting line is the location where mold sections meet.
Its position can affect:
- Product appearance
- Edge quality
- Flash
- Limpieza
- Comfort
- Assembly
- Product function
For baby products, parting lines should be kept away from sensitive mouth-contact or skin-contact areas where possible.
For pet products, they should avoid thin chewing areas, functional textures, and weak connections.
Gate and venting locations can also affect:
- Material flow
- Air traps
- Incomplete filling
- Flow marks
- Surface appearance
- Local flash
- Texture definition
These locations should be reviewed before the mold is manufactured.
The buyer should not discover the parting line only after receiving the first sample.
9. Confirm Logo Size, Position, and Process
A logo may look clear in a design file but become difficult to mold when it is:
- Too small
- Too shallow
- Too deep
- Located on a curved surface
- Positioned near a parting line
- Placed inside a deep texture
- Located on a flexible folding area
- Too close to the product edge
Common logo options include:
- Embossed logo
- Debossed logo
- Molded logo
- Printed logo
- Logo on packaging
- Attached label
Molded logos are normally more durable, but they should be designed according to the product surface and demolding direction.
Before tooling, buyers should confirm:
- Logo artwork
- Logo dimensions
- Relief depth
- Position
- Orientation
- Surface finish
- Acceptable clarity
- Whether the logo affects cleaning
A logo should support the brand without weakening product function.
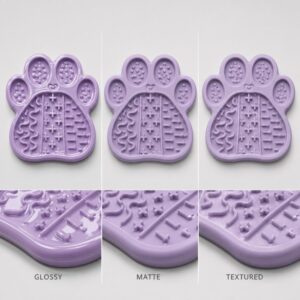
10. Confirm the Surface Finish and Texture
Silicone products may use:
- High-gloss finish
- Fine matte finish
- Coarse matte finish
- Soft-touch texture
- Grip texture
- Decorative pattern
- Functional ribs
- Raised dots
- Massage texture
- Slow-feeding texture
Surface finish affects appearance, grip, cleaning, dust visibility, demolding, and product photography.
The buyer should confirm the finish using actual molded samples whenever possible.
Changing from glossy to matte after tooling may require mold-surface modification.
Deep textures should also be reviewed for:
- Cleaning accessibility
- Food residue
- Pet-hair collection
- Mold release
- Flash
- Texture wear
- Product comfort
The surface specification should be included in the tooling approval, not decided only after the first sample.
11. Define Critical Dimensions and Tolerances
Not every dimension needs the same tolerance.
Buyers should identify which dimensions affect:
- Product assembly
- Lid fit
- Suction performance
- Capacidad
- Hole position
- Accessory connection
- Product stacking
- Embalaje
- Related plastic or metal parts
- User comfort
Critical dimensions should be shown clearly on the 2D drawing.
The manufacturer should explain which tolerances are practical for the product size, material, process, and mold structure.
Overly tight tolerances may increase:
- Mold cost
- Inspection cost
- Scrap rate
- Mold-adjustment time
- Production difficulty
Tolerances should be strict where the product function requires them, but realistic in non-critical areas.
12. Confirm How the Product Will Be Tested
The first sample should not be approved only because the color and shape look correct.
Functional testing may include:
- Product dimensions
- Product weight
- Silicone hardness
- Surface quality
- Edge flash
- Logo clarity
- Folding recovery
- Suction performance
- Lid fit
- Assembly fit
- Bristle flexibility
- Grip comfort
- Texture cleaning
- Tear-risk review
- Product stability
- Packaging fit
The test method should be agreed before tooling whenever possible.
For example, suction performance depends on the test surface, applied pressure, surface cleanliness, product flatness, and test duration.
A statement such as “the suction must be strong” is too subjective for sample approval.
13. Plan Product Testing and Compliance Before Opening the Mold
Testing should not begin only after the mold is finished.
Before tooling, buyers should define:
- Target market
- Categoría de productos
- Intended age group
- Contact conditions
- Product claims
- Required test items
- Packaging statements
- Warning labels
- Care instructions
- Customer laboratory requirements
The final testing requirement may affect:
- Material selection
- Product thickness
- Small-part structure
- Holes and openings
- Accesorios
- Logo and printing
- Packaging information
The manufacturer can support material selection and sample preparation, but the buyer should confirm the appropriate compliance route for the intended market.
Changing the design after testing failure can result in additional mold modification.
14. Understand What the Tooling Quotation Includes
A mold quotation should define more than one total price.
Buyers should clarify:
- Mold type
- Mold material
- Number of cavities
- Mold dimensions
- Tooling process
- Sample quantity
- Sample material
- Included modification rounds
- Additional modification cost
- Mold ownership
- Mold storage
- Mold maintenance
- Expected mold life
- Replacement insert cost
- Shipping or transfer conditions
A low mold price may not include the same tooling structure or service scope as another quotation.
Buyers should compare technical scope before comparing price.
They should also confirm whether the mold can be transferred, stored for repeat orders, or used only by the original manufacturer.
Tooling capability should also be considered when buyers choose a reliable custom silicone products manufacturer in China.
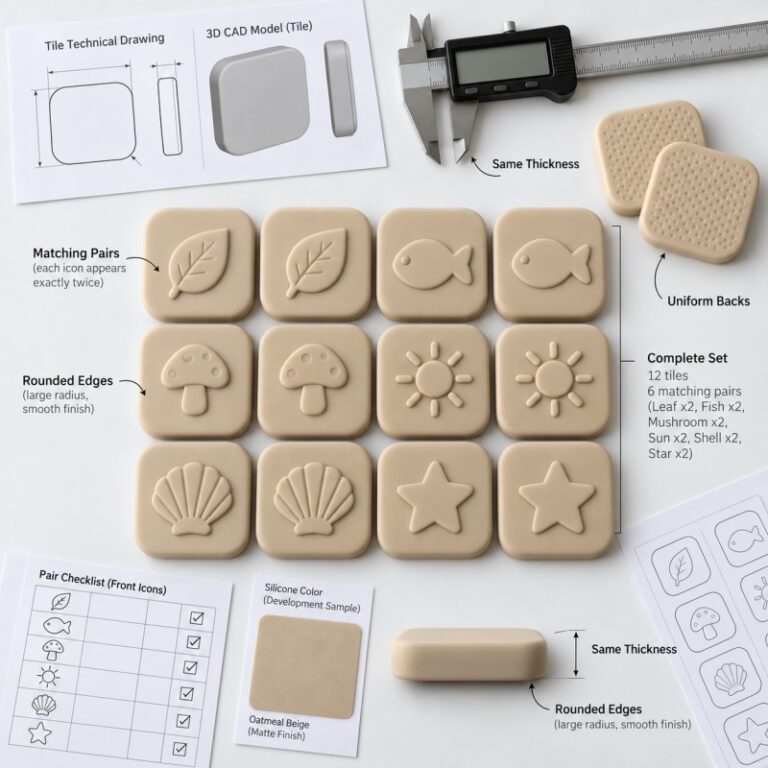
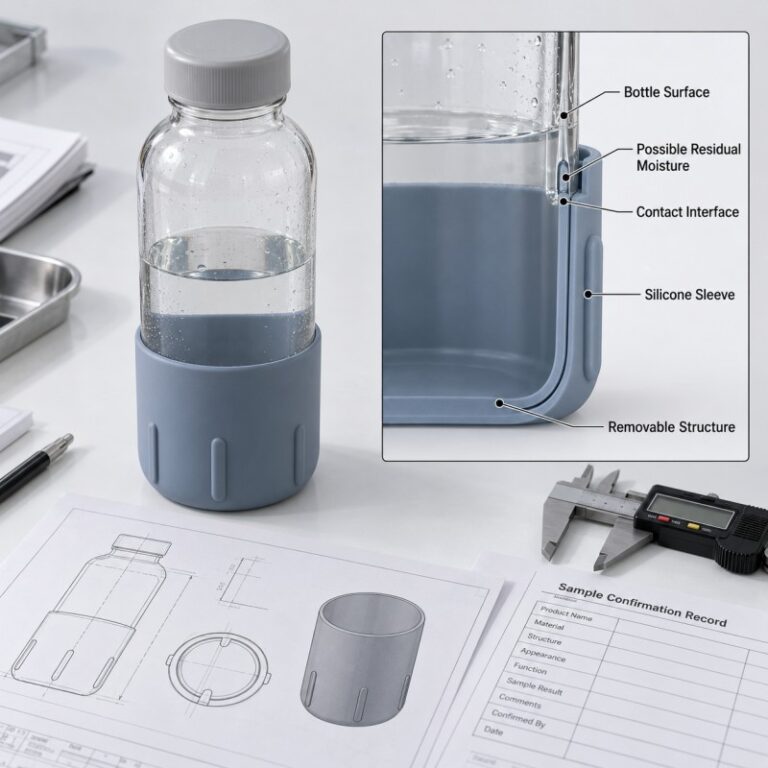
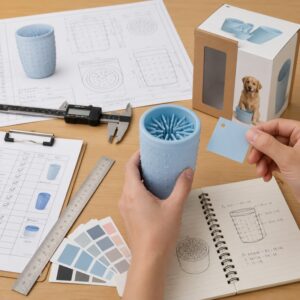
15. Define the Sample-Approval Process
The first sample may require adjustment.
Common sample changes include:
- Hardness
- Color
- Texture
- Logo depth
- Wall thickness
- Product dimensions
- Folding structure
- Suction base
- Hole size
- Bristle structure
- Parting-line control
Before tooling, buyers should understand:
- How samples will be reviewed
- Which changes are minor adjustments
- Which changes require major mold modification
- How many sample rounds are included
- Who approves the final sample
- How the approved sample will be retained
- Whether a signed approval record is required
Once the final sample is approved, it should become the reference for mass production.
Approval should cover function and quality—not only appearance.
16. Review the Packaging Before Mass Production
Packaging can affect the molded product.
Incorrect packaging may:
- Deform suction cups
- Bend product rims
- Collapse food-catching pockets
- Press brush bristles
- Change folding structures
- Leave surface marks
- Transfer paper fibers
- Create dust exposure
- Cause color transfer
Before printing a large packaging quantity, buyers should test actual molded samples inside the proposed packaging.
The review should include:
- Product orientation
- Box size
- Bag size
- Internal support
- Compression
- Shipping-carton arrangement
- Product movement
- Barcode location
- Instruction-card placement
- Retail presentation
Packaging should protect the product and preserve its intended function.
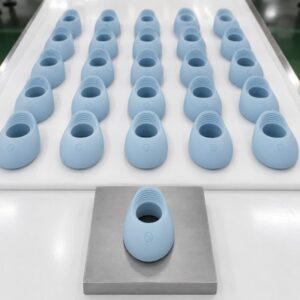
17. Use Pilot Production to Validate the Mold
A few successful samples do not prove that the mold is ready for long-term production.
Pilot production helps evaluate:
- Continuous molding stability
- Cavity-to-cavity differences
- Product dimensions
- Demolding time
- Flash
- Color consistency
- Hardness consistency
- Operator handling
- Inspection method
- Packaging efficiency
- Scrap rate
- Production capacity
A product may look good during a short mold trial but develop issues during a longer run.
Pilot production is especially useful for products with:
- Thin structures
- Multiple cavities
- Deep textures
- Suction cups
- Folding lines
- Complex undercuts
- Strict cosmetic requirements
- Multiple assembled components
The objective is to validate both the product and the manufacturing process.
The approved mold, sample and production records also provide a more stable foundation for long-term OEM cooperation and repeat orders.
18. What Information Should Buyers Provide Before Tooling?
For a more accurate tooling evaluation, buyers should provide:
- Product reference photo
- 2D drawing
- 3D file
- Physical sample, when available
- Product application
- Target user
- Target market
- Overall dimensions
- Critical dimensions
- Silicone material requirement
- Target hardness
- Pantone color
- Surface finish
- Logo file
- Functional requirements
- Related accessories
- Testing requirements
- Packaging concept
- Estimated quantity
- Expected launch schedule
Buyers should also explain which requirements are fixed and which can be adjusted according to manufacturing recommendations.
How LYA Silicone Supports Custom Mold Development
LYA Silicone supports OEM and ODM development for custom silicone baby, pet, outdoor, educational, household, and lifestyle products.
Our project support can include:
- Product requirement review
- Drawing and sample evaluation
- DFM recommendations
- Material and hardness selection
- Product-structure review
- Desarrollo de moldes personalizados
- Surface-texture development
- Pantone color matching
- Molded sample production
- Functional testing support
- Packaging coordination
- Pilot production
- Quality inspection
- OEM/ODM mass production
With more than 25 years of silicone manufacturing experience, we help buyers evaluate the complete project before tooling rather than treating the mold as an isolated purchase.
The goal is to reduce avoidable mold changes and develop a product that can be sampled, inspected, packed, and repeatedly manufactured.
Frequently Asked Questions
Can LYA Silicone produce a product from only a reference photo?
A reference photo can support initial discussion, but accurate mold development normally requires dimensions, structural information, intended function, material, hardness, and other project requirements. A 3D drawing or physical sample may be needed before final tooling.
Is a new mold required for every custom silicone product?
No. Buyers can use an existing mold when the current shape and structure meet their requirements. A new mold is required when the product needs exclusive dimensions, function, shape, texture, or branding.
Can the product color be changed after the mold is completed?
Color can generally be adjusted without changing the mold, but actual molded samples should be approved because thickness, texture, hardness, and material affect the final appearance.
Can silicone hardness be changed after tooling?
It may be possible within a suitable range, but hardness changes can affect shrinkage, dimensions, demolding, folding, suction, and product function. New samples should be tested.
Who owns the custom silicone mold?
Mold ownership should be stated clearly in the quotation or agreement. Buyers should also confirm storage, maintenance, exclusivity, and transfer conditions.
Why does the first sample sometimes need mold modification?
The first sample may reveal dimensional, demolding, texture, function, assembly, or deformation issues that cannot be fully confirmed from the digital drawing alone. Early DFM review can reduce, but not always eliminate, sample adjustments.
What should be approved before bulk production?
Buyers should approve dimensions, material, hardness, color, surface finish, logo, function, packaging, inspection standard, and the final reference sample.
Conclusión
Custom silicone mold development should not begin with only a product picture and a target price.
Before tooling, buyers should confirm product use, drawings, material, hardness, wall thickness, demolding, parting line, surface finish, logo, critical dimensions, testing, packaging, tooling terms, and sample-approval standards.
The best time to solve product and manufacturing risks is before mold machining begins.
A structured tooling review can reduce repeated modifications, unstable samples, packaging problems, and mass-production quality disputes.
If you are preparing a custom silicone product, contact LYA Silicone and send us your drawing, reference sample, product application, dimensions, material requirement, hardness, color, logo, surface finish, packaging concept, target market, and estimated quantity. Our team will review the project and provide an appropriate OEM or ODM mold-development proposal.